
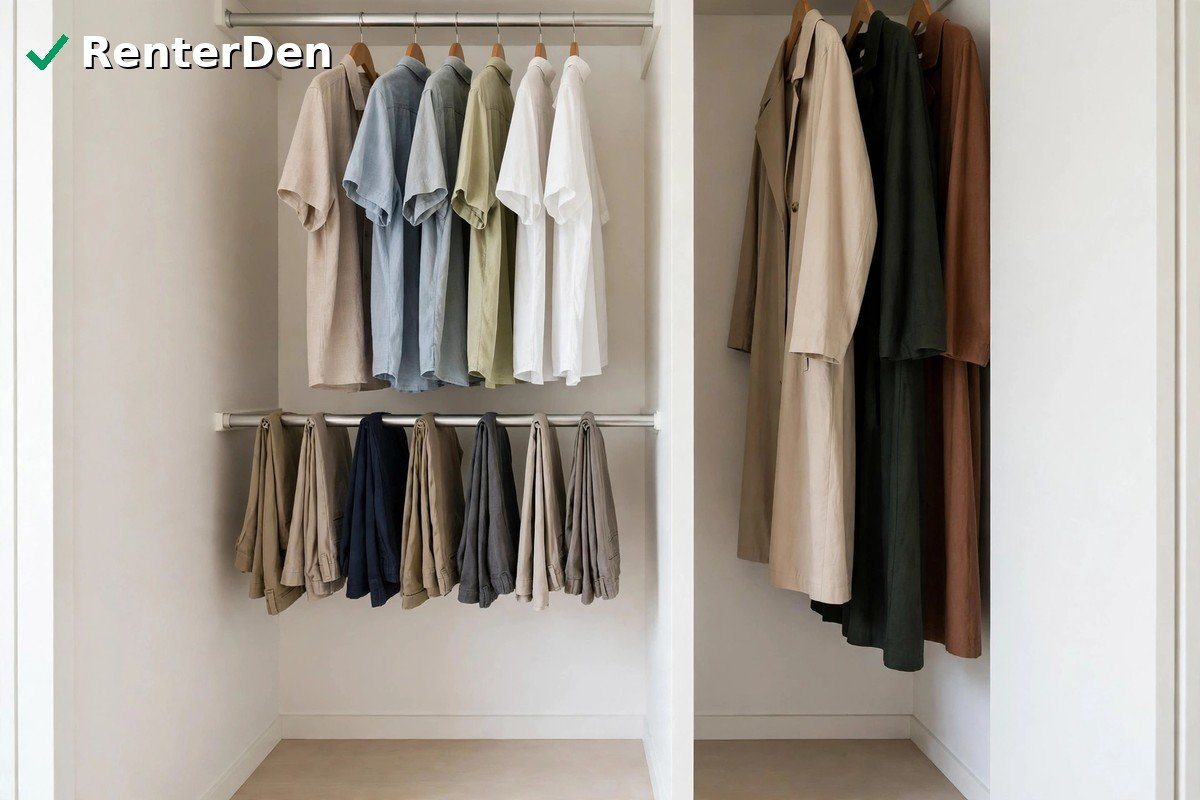
Double-Hang a Single-Rod Closet Without Drilling
Quick fix first: If one rod leaves empty air below your shirts, add a second, lower level without drilling — typically a tension rod or a hook-on rod that hangs from the existing rod. Measure first: rod height, your shortest hanging clothes, and clearance underneath. Do not drill, glue brackets, or overload a tension rod with heavy coats.
Why One Rod Wastes Half Your Closet
Most rental closets have a single rod and empty space below it. That works for dresses and long coats, but wastes space for everything else. A shirt on a hanger is typically about 24 to 28 inches long, and pants folded over a hanger are typically about 30 to 36 inches long. If your rod sits 60 inches or more above the floor, roughly two feet of air below your everyday clothes goes unused — room for a whole second row.
Double-hanging uses that air: keep the top rod as it is, add a lower rod for shorter items, and take it with you when you move. The catch is height — if the lower row drags on the floor, you have not gained storage.
Verdict: Easy • 5 minutes • Free • DIY.
Measure Before You Buy
Check these six things first:
- Current rod height: Floor to the top of the existing rod. In many rentals this is typically around 60 to 66 inches, but do not guess.
- Garment lengths: Your own clothes on hangers, hook to hem. Shirts are typically 24 to 28 inches, folded pants 30 to 36 inches, and dresses and long coats 45 to 60 inches or more.
- Clearance for the lower rod: Room below it for its clothes, plus a couple of inches so hems do not brush the floor. If shirts need 26 inches, the lower rod should sit at least about 28 inches high.
- Closet width and depth: Inside width where the second rod will sit, and depth from back wall to door. A tension rod needs solid side walls; a hook-on rod needs depth so hangers do not hit the door.
- Weight limits: Check the rating on any add-on. Overloading is the most common reason a tension rod slips or a hook-on rod sags.
- Door type and clearance: Sliding doors can catch hangers on the track; hinged doors need room to swing without hitting the rod. Open and close the door with your measurements in mind.
Now do the math. Subtract the top-row clothes from your rod height; what is left must fit the lower rod, the lower clothes, and a small gap. For example, a 64-inch rod with 26-inch shirts leaves hems around 38 inches off the floor. A lower rod at about 36 inches then leaves roughly 36 inches below it — plenty for a second row of shirts, but not for long pants.
Verdict: Difficulty: Easy • Time: 10 minutes • Cost: Free (just a tape measure) • DIY.
The No-Drill Double-Hang Options
1. A tension rod as a second rod. It presses between the two side walls below the existing rod. It works best with flat, solid side walls and a width inside the rod’s adjustable range. It is usually the cheapest option. Its weakness is weight: it relies on friction, so heavy loads can make it slip.
2. A hook-on double-hang rod. Hooks or straps hang it from your existing rod, creating a second level directly below. Because it does not need side walls, it works in wide closets or closets with sloped or uneven walls. Its weakness is added weight on the original rod, so check that rod and its supports can carry both rows.
Pick by your closet: narrow with solid side walls and light shirts points to a tension rod, typically the cheapest choice; wide, or walls unsuited to tension, points to a hook-on rod. Buy the size that matches your measured width.
Verdict: Difficulty: Easy • Time: 15–30 minutes to install • Cost: Typically low • DIY.
Step by Step: Hang a Second Rod Without Drilling
- Empty the section you are changing. Installing around full hangers is how rods get knocked down.
- Mark the height with tape, not a pen. Put painter’s tape on each side wall at your calculated height, then check the marks look level and lower clothes will clear the floor.
- For a tension rod: Twist it to just under your measured width, place one end against the wall, and extend until snug and level. Give it a firm downward tug; if it moves, reposition it.
- For a hook-on rod: Space the hooks evenly over the existing rod so the lower rod sits level. Load the lightest items first, then check again for sagging or sliding.
- Load gradually. Hang a few items, check the rod stays level and the door still opens freely, then add the rest.
Keep heavy items on the original rod, which has the closet’s own brackets behind it, and use the lower rod for lighter shirts, blouses, and skirts.
Verdict: Difficulty: Easy • Time: 20–40 minutes including measuring • Cost: Typically low • DIY.
How to Arrange Clothes So Both Rods Work
Sort by length. Put the shortest items on the lower rod: T-shirts, blouses, short skirts, and folded pants that clear the floor. Keep medium items on the top rod only if they clear the lower row, or they will crush the clothes below. Move long dresses, long coats, and full-length pants to a section that stays single-hung, even if that means double-hanging only half the closet width.
That half-and-half layout often works best in a small apartment: one side double-hung, the other single-hung, with shoes or a bin underneath. For more ideas, see the Bedroom and Closet & Storage sections, and the Laundry section for laundry-day overflow. Leave breathing room on each rod — overstuffed rods bend hangers and add weight an add-on was not rated for.
Verdict: Difficulty: Easy • Time: 30 minutes to sort and rehang • Cost: Free • DIY.
When It Does Not Fit / Fails
Lower clothes touch the floor. Your height math does not work for those garments. Move longer items to the single-hung section, raise the lower rod if there is room above, or switch that section back to single-hung. Do not let hems sit on the floor — they pick up dust and wrinkle.
The rod sags in the middle. It is usually too long for its span, overloaded, or both. Remove the heaviest items to the original rod. If a tension rod keeps sagging under a normal load, switch to a hook-on rod or reduce the load.
The hanging add-on slides. Hook-on rods drift toward the middle when the load is uneven. Re-center the hooks, spread them evenly, and balance the weight on both sides. If they still slide, a different hook style may grip your rod better.
Long items have nowhere to go. Keep one section single-hung for dresses and coats, and double-hang only the rest. If you have almost no long items, fold them or store off-season pieces elsewhere.
If none of this works, double-hanging is not the right fix for that closet. A removable hanging shelf unit or a small freestanding garment rack may serve you better, and neither requires drilling.
Verdict: Difficulty: Easy to Moderate • Time: 15–30 minutes to diagnose and adjust • Cost: Free unless you swap products • DIY.
Drilled Options — Last Resort Only
Some guides jump straight to screwing new brackets into the wall. For a renter, that should be last, not first: drilling can damage drywall and leave holes you must repair before moving out, putting part of your deposit at risk. If no no-drill option fits, check your lease and get your landlord’s written permission before drilling.
Verdict: Difficulty: Moderate • Time: 1–2 hours including repair planning • Cost: Typically higher once you count anchors, tools, and possible repair • DIY only with written landlord permission; otherwise, do not drill.
FAQ
Can I double-hang a closet without drilling? Yes. A tension rod between solid side walls, or a hook-on rod hanging from your existing rod, both add a second level with no holes, no glue, and no permanent change.
How much height do I need? It depends on your clothes. As a rough guide, the top row must clear the lower rod, and the lower row must clear the floor by a couple of inches. Measure your own garments first.
Will a tension rod damage the walls? A properly fitted rod should not damage a sound wall, but overtightening can mark soft paint. If walls are damaged or freshly painted, a hook-on rod may be safer.
What if my closet is too wide for a tension rod? Use a hook-on rod instead, since it hangs from the existing rod and does not need side walls.
Where do long dresses and coats go? Keep one section single-hung for long items, and double-hang only the rest.
Verdict: Easy • 30 minutes • Typically low • DIY.